Dual booting Ubuntu on a new XPS 8960 with RTX-4090 GPU
Jul 4, 2023
Dual booting Ubuntu on a new Dell XPS 8960 with an NVIDIA GeForce RTX-4090 GPU
After much trial and error, I finally got Linux (Ubuntu 22.04.02) to dual boot on my new Dell XPS 8960. You may only need to do some of what I did, but I have listed everything I had to do to get to a working state below, and I am now reluctant to experiment further.
Even more so than usual, please take heed of the standard warning that there is no guarantee this will work for your particular setup and could brick your computer.
Preparations before installation:
-
Set up Windows 11. If this is a new computer, go through the Windows 11 installation/setup wizard.
-
Make a backup Windows install USB. You will likely need this, so don’t skip this step. I certainly needed the backup. Use a USB drive with 64GB of storage. Windows 11 displays a message that the USB must have a minimum of 32GB of free space. However, the OS calculates a gig strictly using the larger 2 to the power of 10 definition. At the same time, USB drive advertisements use a smaller 1,000,000,000 bits definition, so I recommend using a larger USB drive. Moreover, Windows 11 seems temperamental, and I had to try several times before I could finally create the backup, even with a 64GB USB drive. See the recovery USB section of Windows 11 and Ubuntu dual-boot…
-
If you don’t have a partition ready for the Linux installation, prepare one. Windows 11 and Ubuntu dual-boot…
-
Disable fast startup. Windows 11 and Ubuntu dual-boot…
-
Prepare a bootable USB with Ubuntu 22.04. See create a bootable USB stick on Ubuntu or Windows 11 and Ubuntu dual-boot...
Turn off disk encryption and make BIOS changes
Enter into bios by pressing F2 repeatedly after turning on the power.
I had to save and reboot the computer each time for the following three steps.
-
Turn off BitLocker . More details and background. The following link may also be helpful - Finding your BitLocker recovery key in Windows
-
Under the Secure Boot menu, turn off Secure Boot Mode.
-
Under Storage, changed SATA/NVMe Operation from RAID to AHCI/NVMe. If you don’t want to reinstall Windows after changing RAID to AHCI, you should set Windows 11 to Safe Mode beforehand. In Windows, run msconfig.exe, and from the Boot tab, enable Safe Boot (Minimal). This change should require a restart. Then in the BIOS, change to AHCI, and Windows should still boot up. Then you can disable Safe Boot, and in theory, Windows 11 should work the same when you reboot. Check Windows 11 is working properly. Warning: although Windows mostly worked after this, I still had to reinstall Windows 11 using my previously created Windows recovery USB drive to get everything working properly.
Installation
Insert your Ubuntu USB drive, then turn on your computer and repeatedly click F12 until you get a boot menu. The USB drive should be one of the choices, and select it.
At this point, it should be a normal Ubuntu LTS install, so follow the Wizard. However, after you have finished installing Ubuntu to disk and rebooting, you will likely run into the following error:
nouveau 0000:01:00.0 unknown chipset (192000a1)
Don’t panic; instead, reboot, except this time, press e at boot up to enter the bootloader and edit the kernel options. Do this by adding nomodeset rdblacklist=nouveau to the end of the line that begins with Linux. Then continue to boot the system. Further nomodeset info.
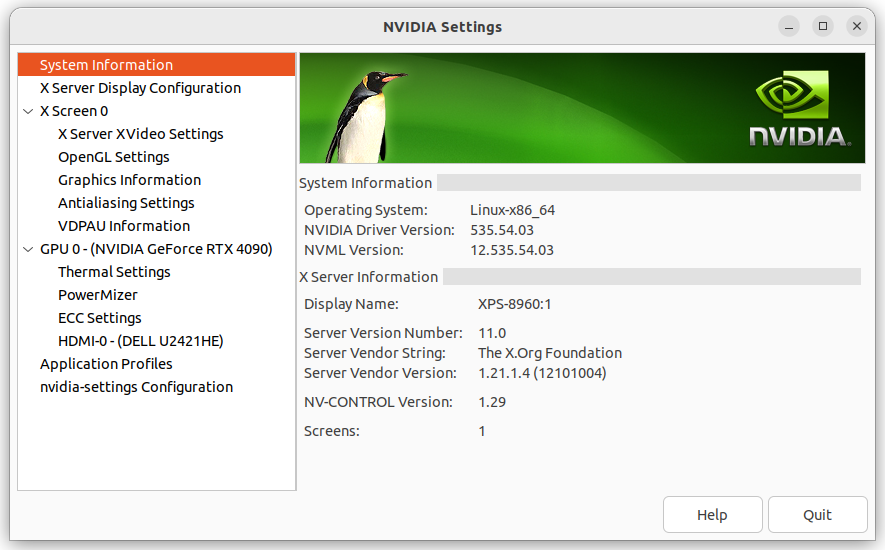
Now that you are in Ubuntu, go to Software & Updates -> Additional Drivers and select Using NVIDIA driver meta package from Nvidia-driver-535 (proprietary, tested). After applying and saving the changes, you should be good for your next restart.
The installer defaults to x11 rather than Wayland display server, but at this point, I am just happy to have a working installation.
Helpful Links:
Windows 11 and Ubuntu dual-boot on a Dell Inspiron desktop - with Secure Boot & application install
How to Install Ubuntu and Windows 8 Through Windows 11 as a Dual Boot on your Dell Computer
Dual Boot Linux XPS 9520 Guide
nouveau “unknown chipset” On Installer
This article is licensed under a Creative Commons Attribution 4.0 International license.
